Getting Started with the QDE
This guide walks you through launching your first QDE workspace and running a simple quantum program. In just a few minutes, you'll have a fully configured quantum development environment running in your browser.
Prerequisites
- Google Chrome browser
- At least one Construct project (or create one during setup)
Authentication and Access
First-Time Authentication and External Authentication Setup
When accessing the QDE for the first time, you must complete an external authentication flow before you can create a QDE workspace. This one-time setup links your Construct account with the QDE service and authorizes Git repository access.
- Log in to Construct ⧉
- Click QDE in the left navigation panel
-
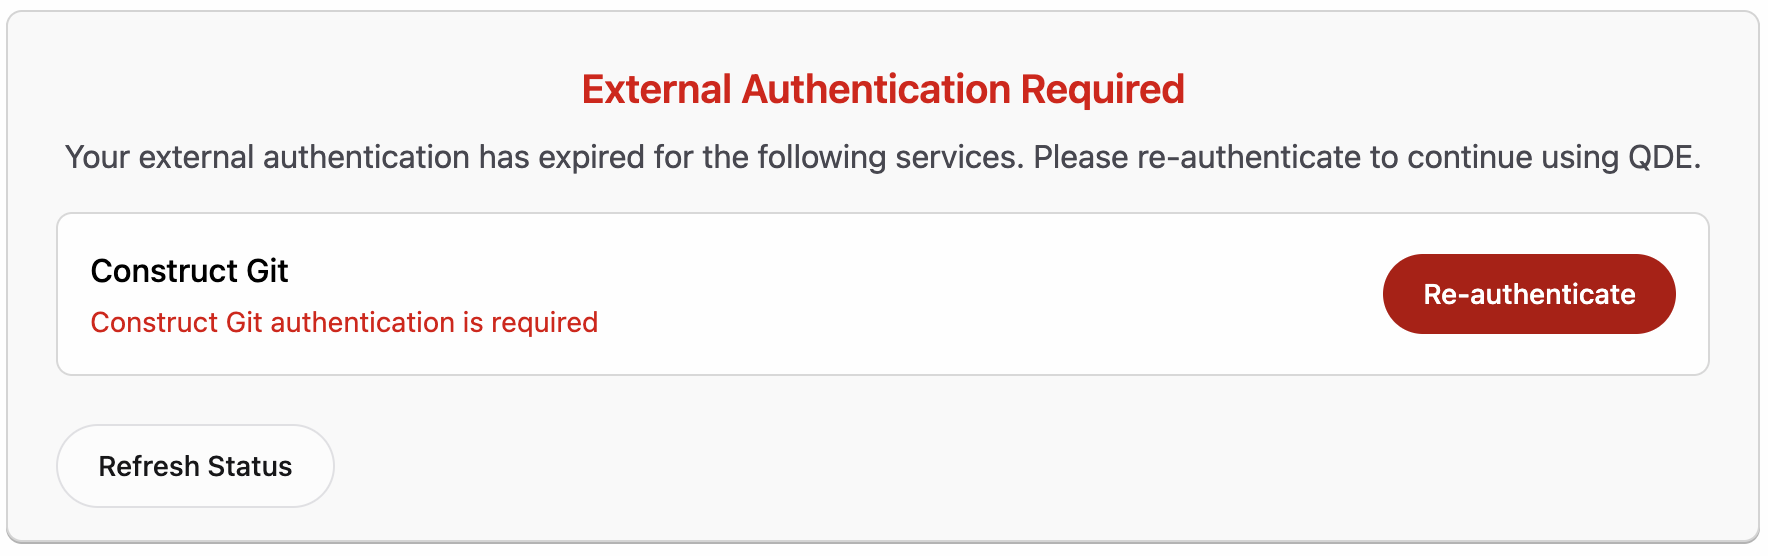
External Authentication Required: You'll see a dialog indicating that external authentication has expired or is required for QDE services. Click Re-authenticate to begin the authentication flow.
-
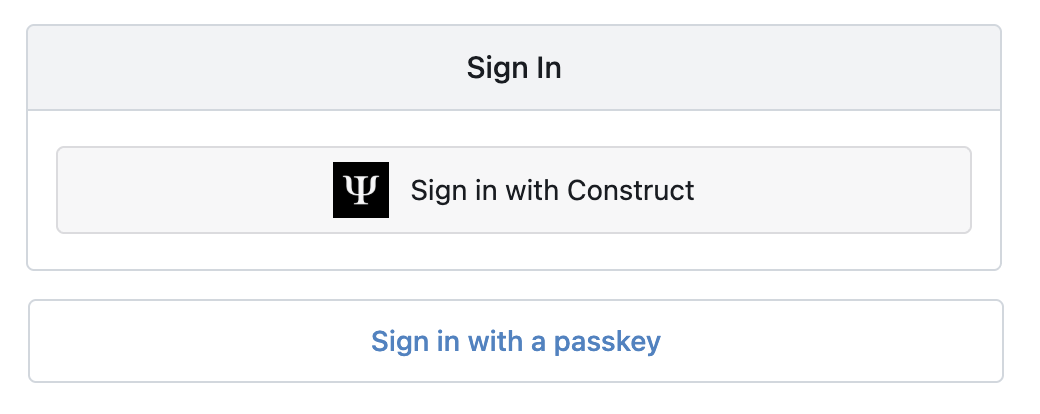
Sign In with Construct: You'll be redirected to a sign-in page. Click Sign in with Construct to use your existing Construct credentials.
-
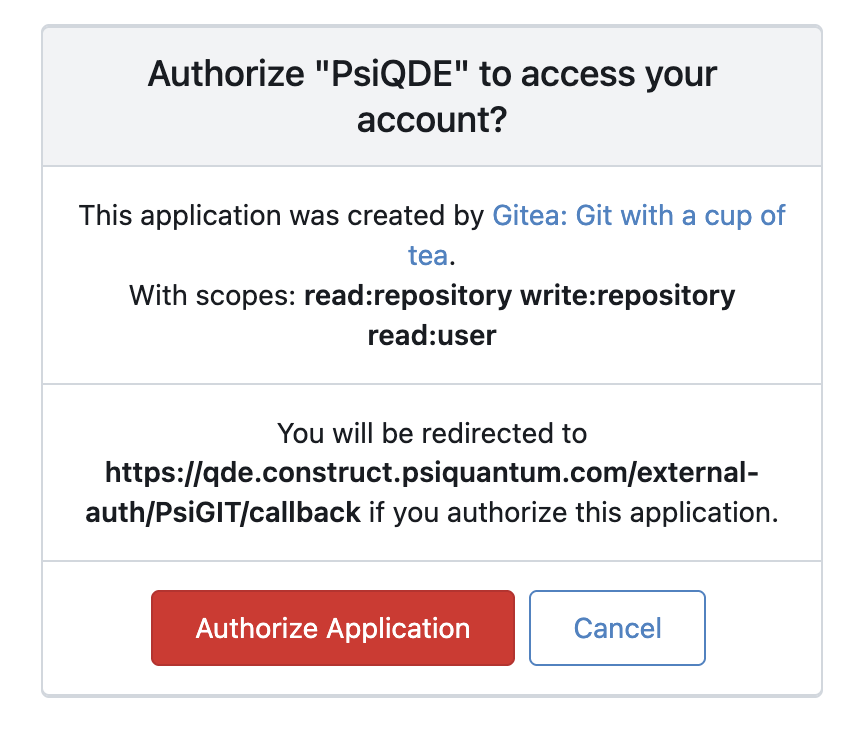
Authorize PsiQDE: Review the authorization request which grants QDE access to your Git repositories. Click Authorize Application to proceed.
-
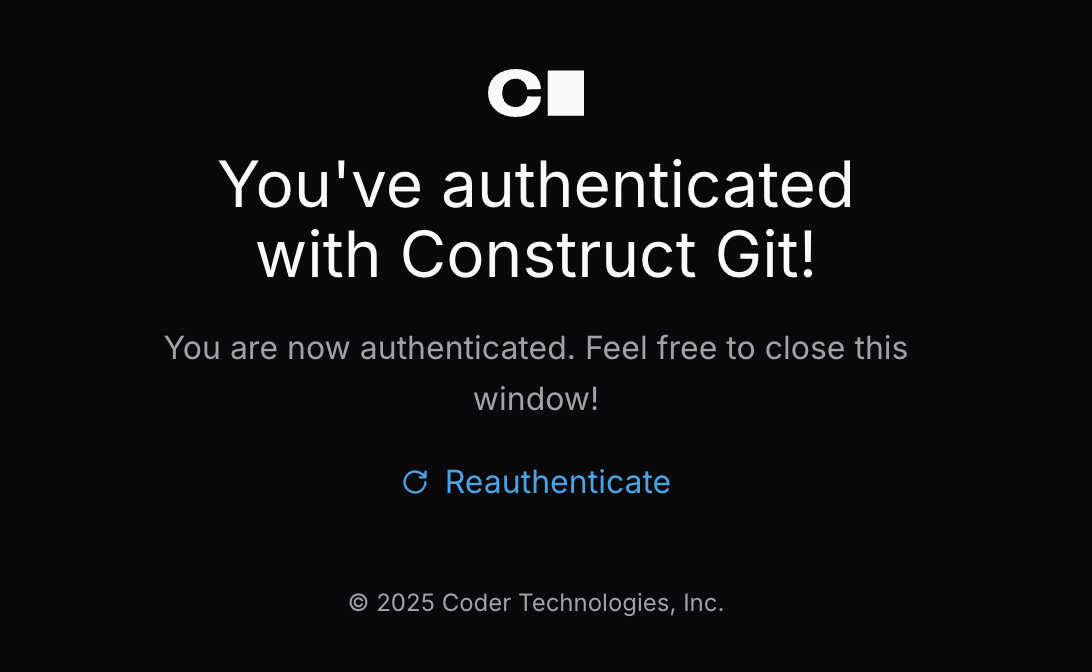
Authentication Complete: You'll see a success message confirming authentication with Construct Git. You can close this window and return to the QDE interface.
Re-authentication After Inactivity
If you don't use the QDE for 30 days or longer, you may need to re-authenticate:
- Return to Construct ⧉
- Log in with your credentials (you may be prompted to verify your identity)
- Navigate back to QDE in the left panel
- Your workspaces and data remain intact - only authentication expires
Your workspace files, installed packages, and project data are preserved during authentication periods.
Creating Your First QDE Workspace
When you first access the QDE, you'll need to create a workspace. A workspace is an independent development environment for each Construct user with its own resources and configuration.
Creating a New Workspace
-
From the main QDE page, click the Create New QDE button
-
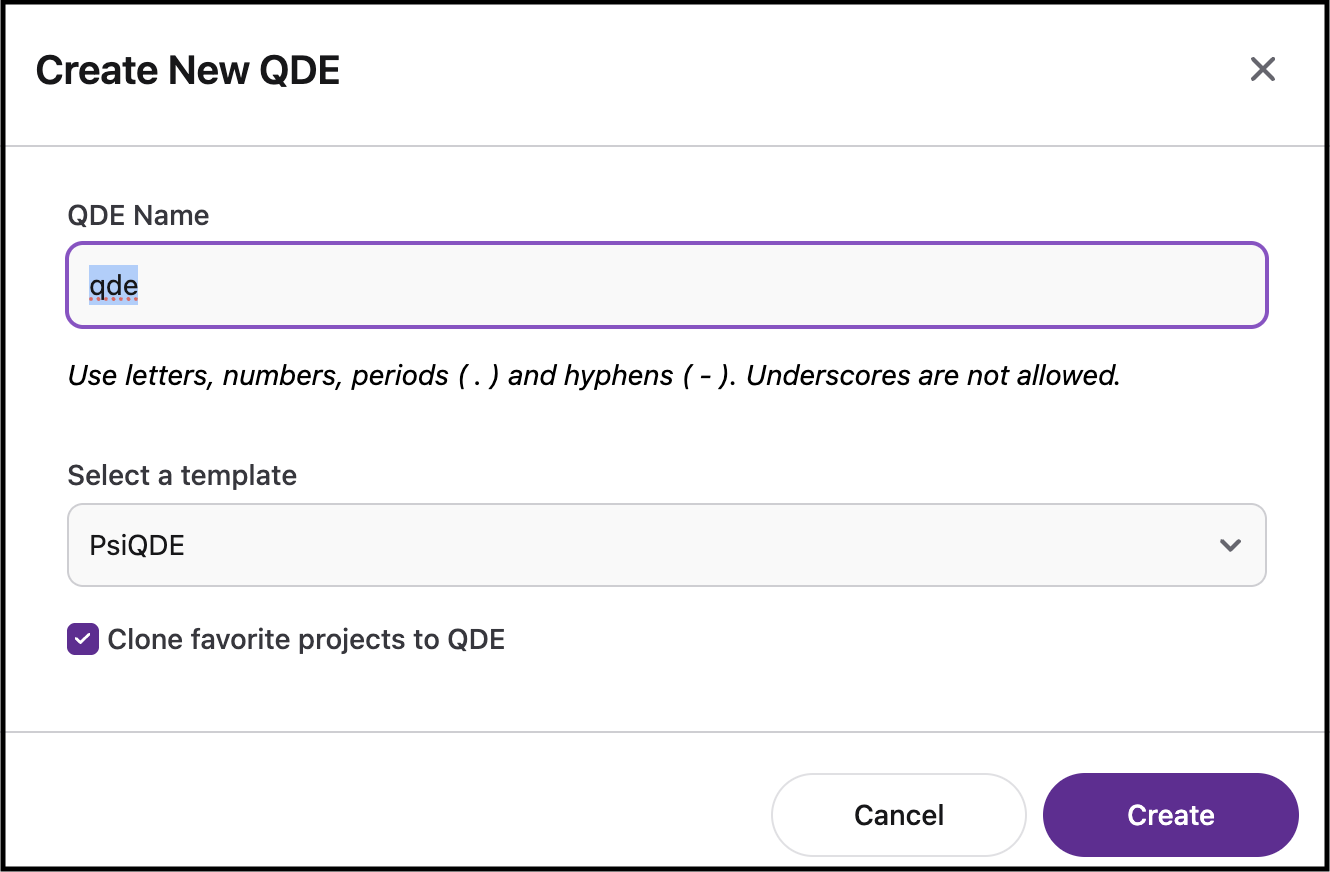
In the Create New QDE dialog, configure your workspace:
- QDE Name: Enter a descriptive name (default is
qde). Use letters, numbers, periods, and hyphens only - underscores are not allowed - Clone favorite projects: Check this option to automatically clone your starred Construct projects to the QDE workspace
About Project Authors
When you enable "Clone favorite projects," the QDE will clone repositories from your organization's Construct projects into the
~/projectsfolder. When VS Code prompts whether you trust the authors of files in this folder, click Yes, I trust the authors to enable full functionality including extensions and terminal access. - QDE Name: Enter a descriptive name (default is
-
Click Create to launch your workspace
Workspace Launch Time
Initial workspace creation takes approximately 2-3 minutes. You can navigate away and return when it's ready.
Monitoring Workspace Status
After creation, your workspace will display its current status:
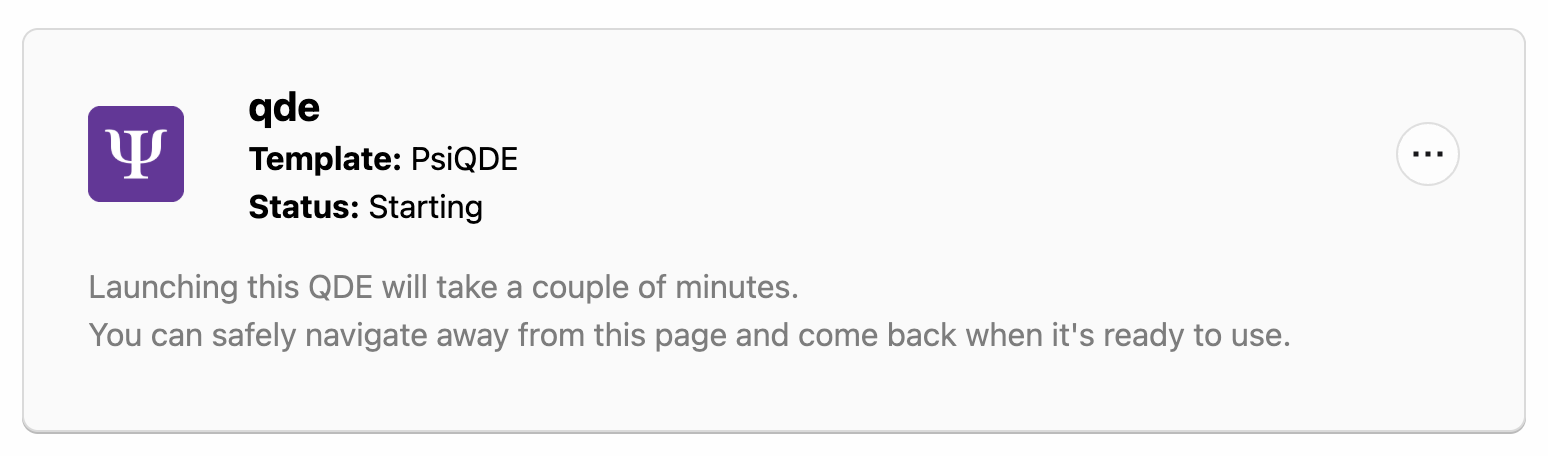
- Starting: Initial launch in progress (2-3 minutes)
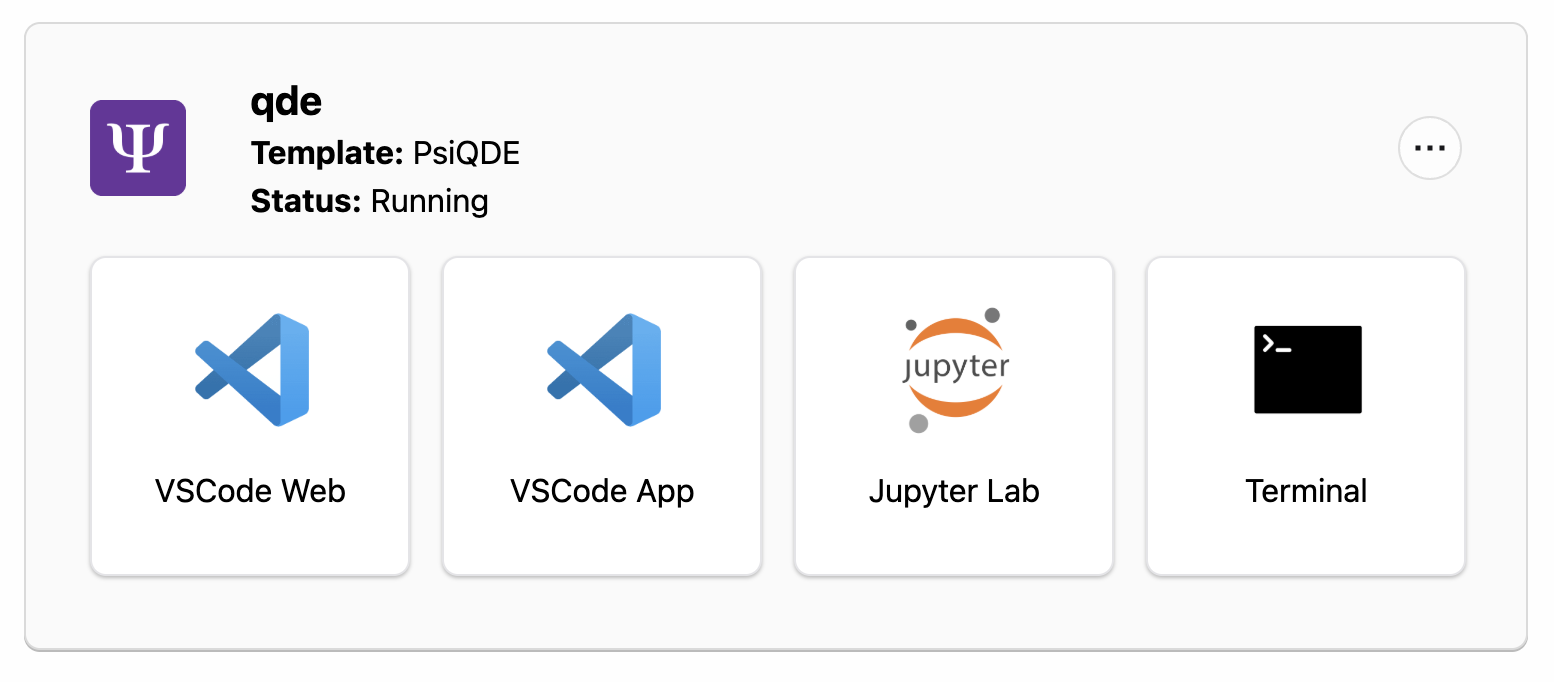
- Running: Ready for use with development interfaces available
- Sleeping: Inactive to save resources
Starting Status: During initial creation, you'll see your workspace in "Starting" state:
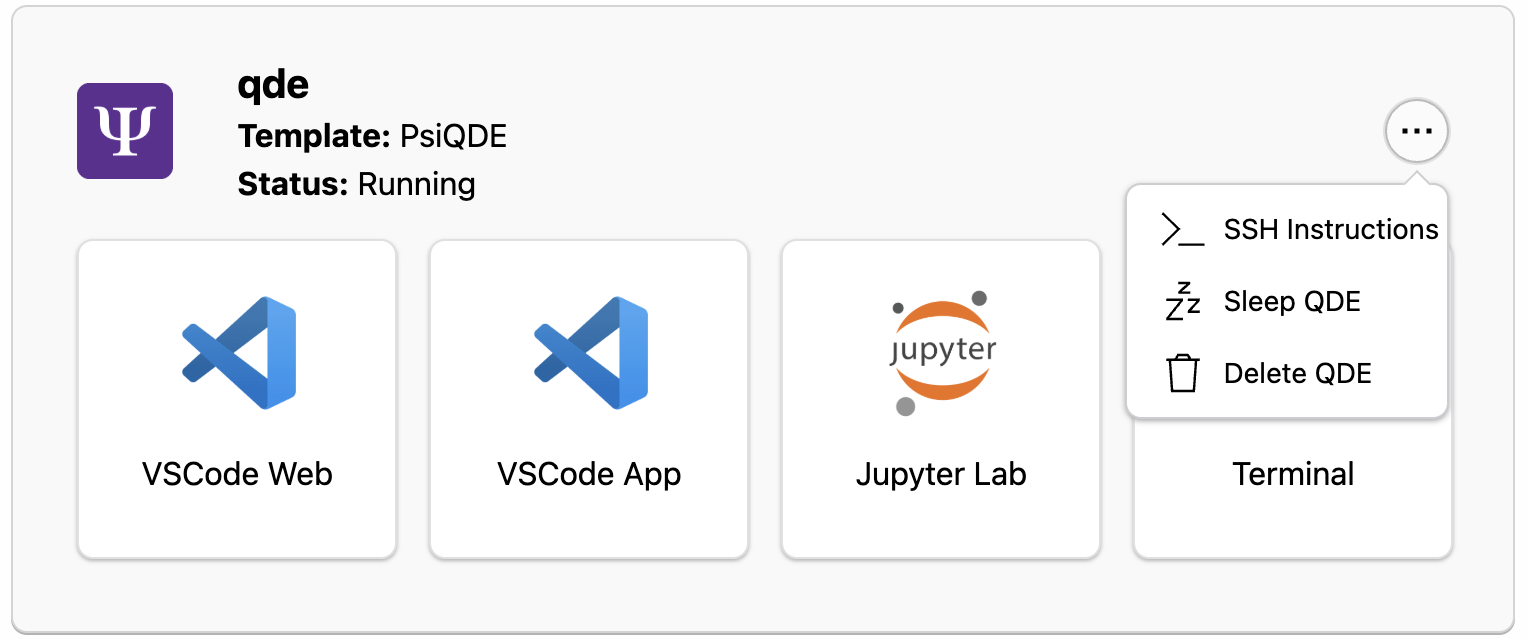
Running Status: Once ready, your workspace displays available development interfaces:
Accessing Development Interfaces
Once your workspace is running, you can access the development interfaces directly from the workspace panel.
Development Interface Options
Your running QDE workspace provides four development interfaces:
- Click the VSCode Web button to launch VS Code in your browser.
- Click the VSCode App button to connect your locally installed VS Code to the cloud workspace.
- Click the Jupyter Lab button to open the interactive notebook environment.
- (advanced) Click the Terminal button for direct command-line access to your workspace.
Learn more about each interface in our Development Interfaces documentation.
First Time Access
When first opening VS Code Web, you may see a trust prompt. Click Yes, I trust the authors to enable full functionality including extensions and terminal access.
Running Your First Quantum Program
Verify your QDE setup by running a simple quantum program using Workbench. In your preferred development interface:
- Click Jupyter Lab to open the notebook environment (it automatically opens in the
/home/coder/projectsfolder) - Create a new Python 3 notebook
- In the first cell, enter:
- Run the cell with Shift+Enter
Managing Your Workspace
Your QDE workspace remains available between sessions. Here's how to manage it efficiently.
Sleeping and Waking
Your QDE workspace will automatically go to sleep after a few hours of inactivity to conserve resources. Your data and configuration are preserved when sleeping.
To manually sleep your workspace:
- Click the menu button (three dots) on your workspace panel
- Select Sleep QDE to pause the workspace
The workspace menu also provides additional options like SSH Instructions for command-line access and Delete QDE for removing the workspace entirely.
To resume work:
- Click Wake QDE on a sleeping workspace
- Wait approximately 2-3 minutes for the workspace to restart
Accessing Project Files
Both VS Code Web and Jupyter Lab automatically open in the /home/coder/projects directory where your Construct projects are available. Starred projects will be automatically cloned and ready to use in your QDE if this option was selected during workspace creation.
For any other projects, go to the project in Construct and click the "Clone Repo" button.

Copy the clone URL and in VS Code or Jupyter use the built in Git clone function to clone the project to your workspace, or open a terminal window in VS Code or Jupyter and run:
The file explorer in VS Code Web shows all your cloned repositories in the projects folder by default. Similarly, Jupyter Lab's file browser starts in the projects directory, giving you immediate access to your quantum development projects.
Next Steps
Now that you have a running QDE workspace, explore these features:
- Development Interfaces - Deep dive into VS Code and Jupyter Lab
- Working with Projects - Git workflows and project management
- Software and Libraries - Explore available quantum libraries